Follow us on our journey to Project Homestead, where I uncover how my husband and I go from living in tight city corners to sprawling tree-lined acreage, living off the land, raising livestock, and teaching our babies what it means to live slow.
For years, my husband and I dreamed of having our own slice of the world—a place to call completely ours, where we could slow down, connect with nature, and build a life on our terms.
But turning that dream into reality wasn’t as simple as scrolling through a few listings online. What we discovered is that buying raw land for homesteading is a journey in patience, research, and a bit of trial and error.
We spent nearly 8–10 months searching, and let me tell you, it felt like forever. Every weekend, we packed snacks, hit the road, and drove 4–5 hours just to see potential properties in person. We scoured every online platform we could find, kept spreadsheets of listings, and made note of every “for sale” sign we saw.
At times, it was exhausting. Other times, it felt like we were inching closer to our dream. And through it all, we learned a lot about how to find the perfect rural property for our lifestyle, budget, and long-term goals.
The first thing we realized is that you need a clear vision before even opening your first listing. What matters most to you? Do you want total privacy or a bit of community? How far from town do you want to be? What kind of land will fit the home and lifestyle you envision?

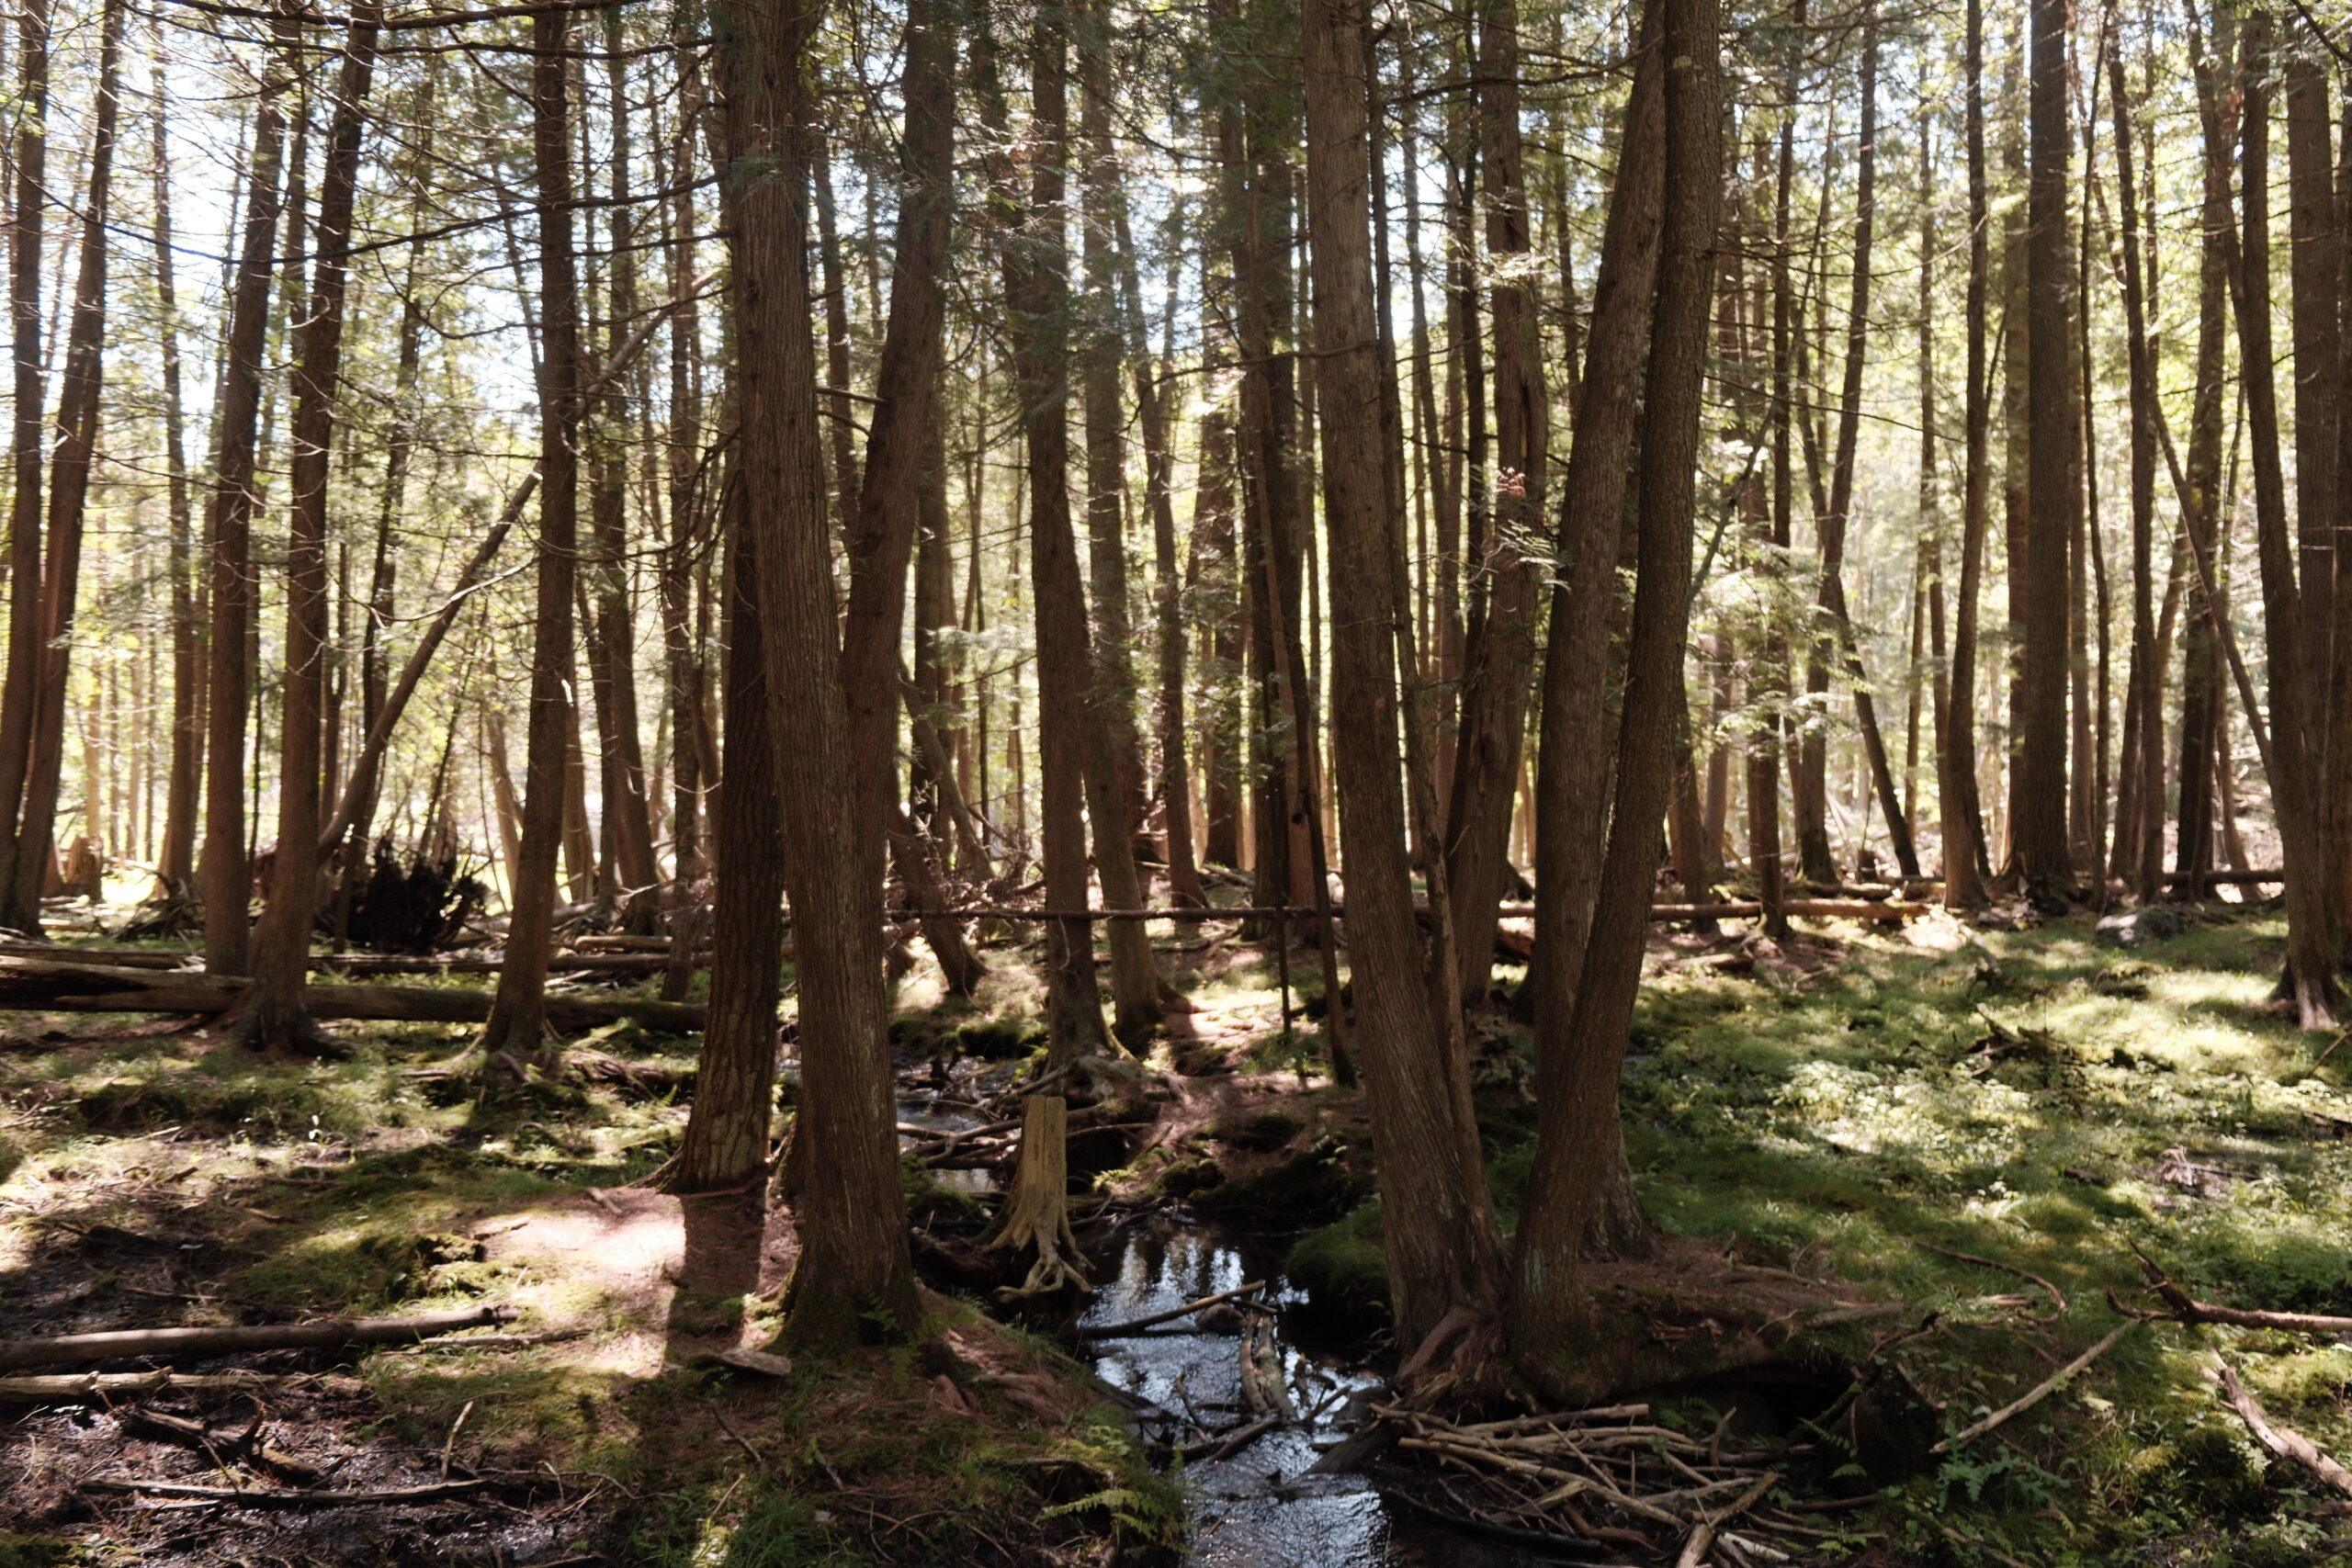
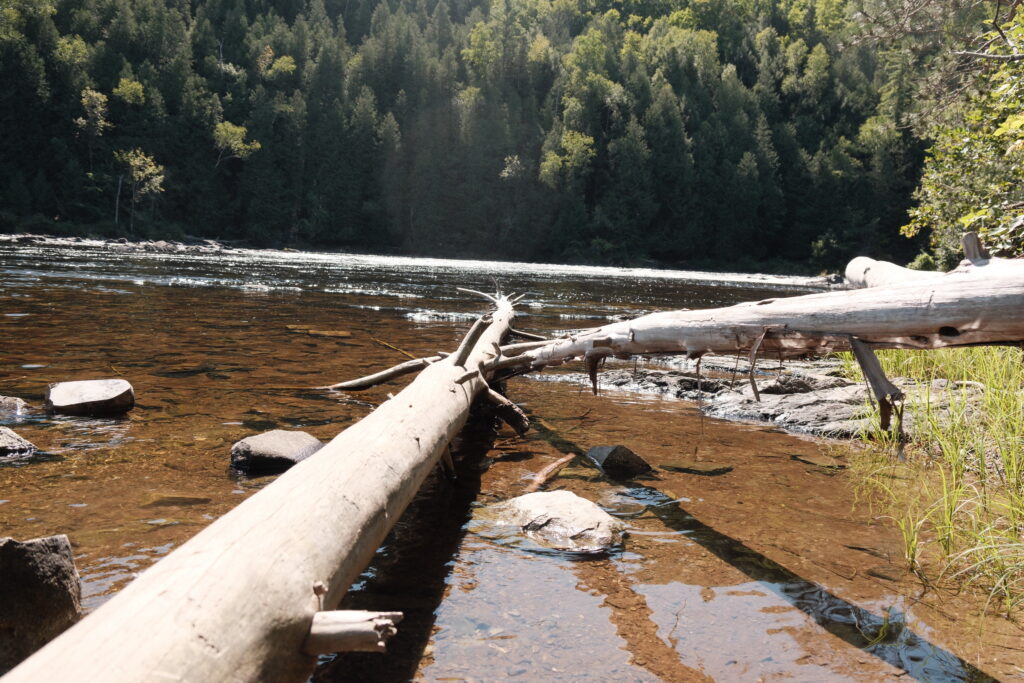
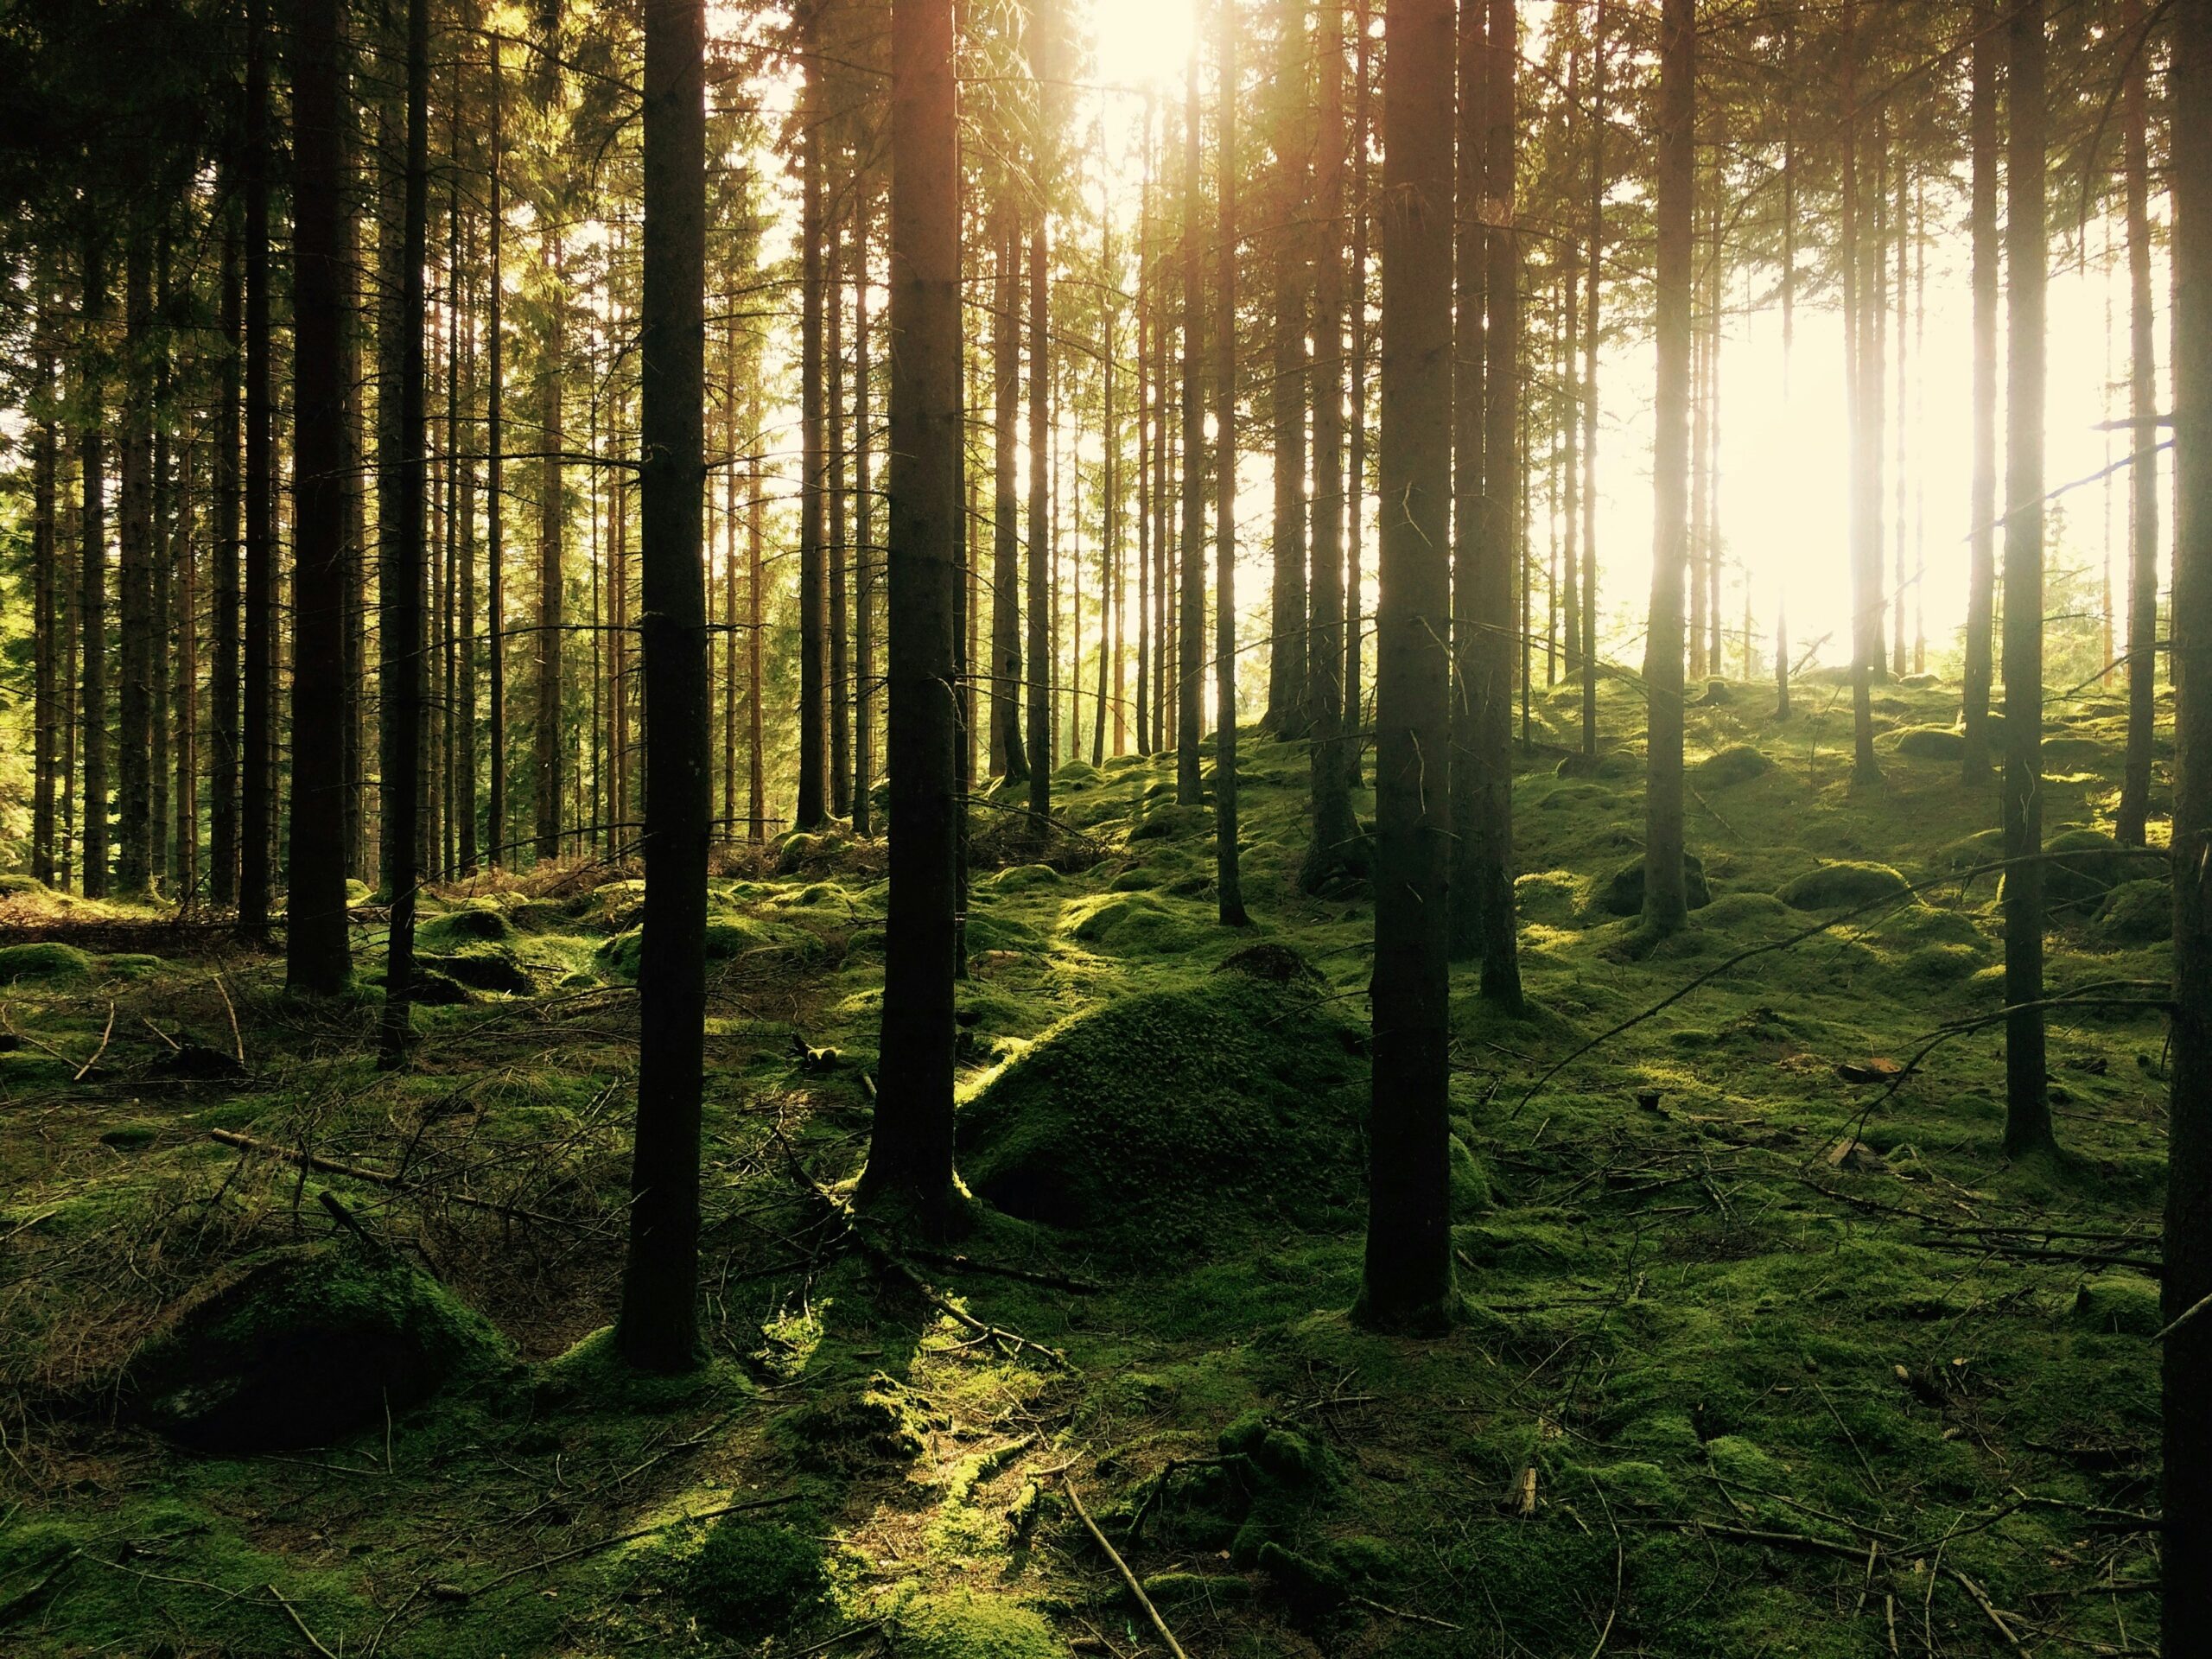
For us, it was all about trees, seclusion, and buildable land. We wanted acreage that could support a home, gardens, and animals one day—but with minimal wetlands and neighbors so building and living wouldn’t be a nightmare.
Budget is another critical piece. You can dream as big as you want, but if the numbers don’t line up, it can turn a magical vision into a financial headache.
We’ll get into the details later but understanding what you can realistically afford early on shapes the properties you consider. It also helps prevent disappointment when your dream spot is just out of reach.
Finally, there’s the reality check: finding the right land takes time. Sometimes you drive hours to discover that a property floods every few years, has unmaintained roads, or just doesn’t feel right once you’re standing on it.
Other times, a listing appears online for just a few days before it’s snapped up. The good news is, with persistence, research, and a bit of luck, the perfect piece of land is out there. And when it shows up, it’s like magic.
In this series, Project Homestead, I’ll share our journey—the wins, the frustrations, and everything in between—so you can get a real sense of the process without feeling overwhelmed.
We’ll walk through our steps it took to purchase undeveloped land, from envisioning your ideal property, to budgeting, searching, making offers, and closing.
None of this is expert advice; it’s simply what worked for us, what we learned along the way, and what might help you on your own homesteading adventure.
Step 1: Get Clear on What You Want
Before even thinking about submitting offers or checking listings, we spent a lot of time figuring out exactly what we wanted in our future homestead.
Honestly, this part is crucial—and something we learned through trial, error, and a LOT of weekend drives. When it comes to buying raw land for homesteading, knowing your must-haves versus nice-to-haves will save you from chasing properties that look perfect online but aren’t a fit in real life.
Here’s how we approached it:
Acreage & Privacy
We knew we wanted space. For us, that meant lots of acres, dense trees, and a sense of complete privacy. We wanted a spot far enough from neighbors to feel like our own private world, but not so remote that emergencies or grocery trips would be a nightmare.
- Think about how much land you actually want to manage.
- Do you want fields, woods, or a mix?
- Are you planning gardens, pastures, or livestock down the road?
For us, 30 acres felt right—a balance between freedom and manageability but we were willing to go as low as 5 acres for our needs.
We are only planning to live on 10 acres of our 30, with keeping the 20 acres behind our living space relatively untouched.
Actually, the 20 acres behind the initial 10 is enrolled in MFL anyway. Since we purchased the land, we closed it, so people can no longer access that MFL now, but note that if you buy MFL with intentions to remove it, you will likely need to pay back taxes.
Thankfully for us, there are only a few scheduled clearings left before the contract ends around 2045. For us, this works.
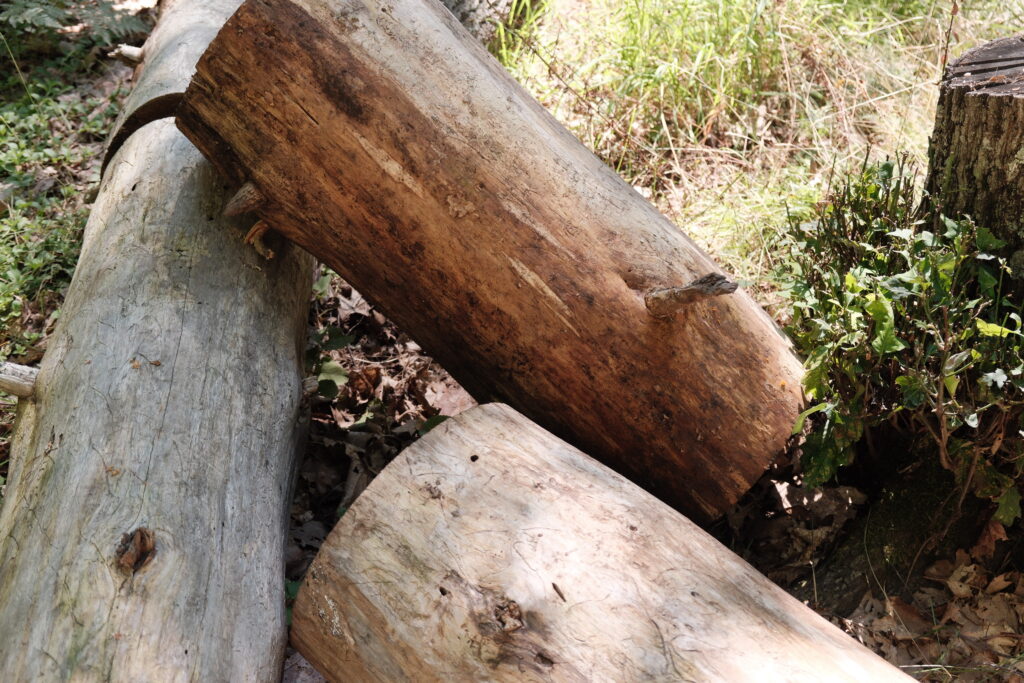
Buildable Land & Minimal Wetlands
One of the biggest lessons we learned is that wetlands can be a dealbreaker if you want to build. You can’t just throw a foundation anywhere; the ground has to be suitable. We used OnX a lot to check topography and potential wetlands.
- Avoid lots with too much swampy or flood-prone areas.
- Even if the property is beautiful, if it floods every decade, you might regret it. (yes, we almost placed an offer on land that floods every decade)
We wanted to ensure there was level space for a future house, a well, and septic—so minimal wetland was non-negotiable.
Proximity to Essentials
It’s tempting to chase complete isolation, but being too far from necessities can become frustrating. We asked ourselves:
- How far are we willing to drive to the nearest gas station or grocery store?
- Do we want to be close to family, friends, or emergency services?
We decided on a spot rural enough to feel private, yet still close to a small town for essentials. It’s a balance that worked for us, but it might differ for someone else—maybe you want to be further out or even closer to neighbors.
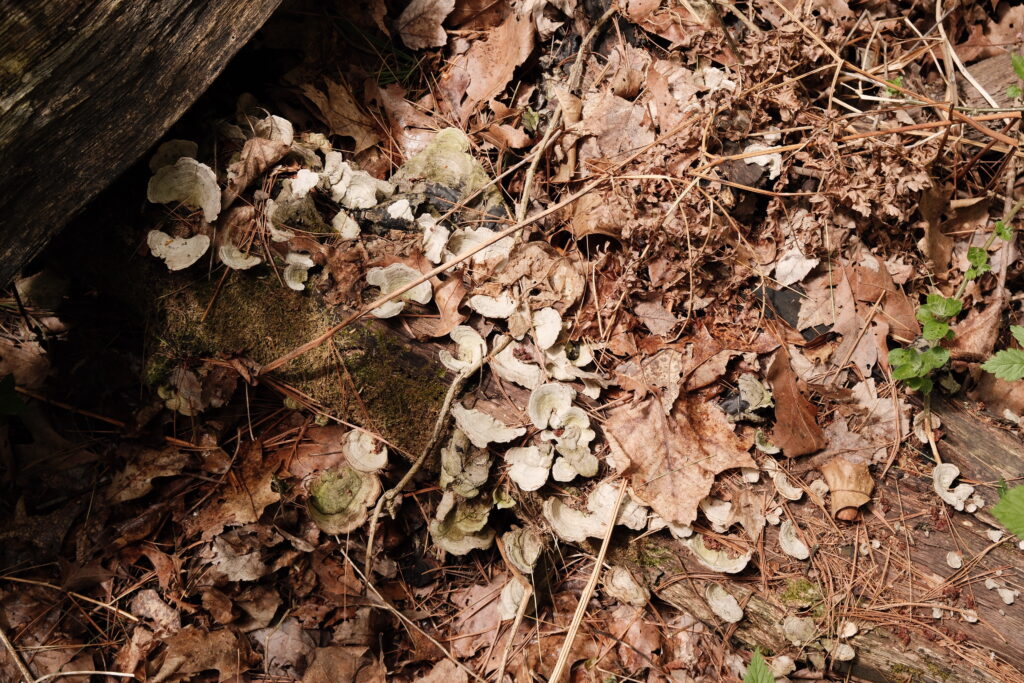
Trees, Views, and Lifestyle
We wanted a wooded property with natural beauty. Lots of people are sold on open fields or large meadows, but for us, trees provided privacy, shade, and a sense of calm. We also imagined future activities—hiking trails, possible hunting spots, and space for outdoor adventures.
- Check neighboring properties: How are they maintained? Are there unsightly structures nearby?
- Think long-term about what you want your day-to-day life on the land to feel like.
Location & Road Access
We were realistic about access. Gravel roads aren’t a dealbreaker, but unmaintained or difficult-to-navigate roads can turn small tasks, like hauling supplies or visiting in winter, into a headache.
There were a lot of beautiful lots but turned out they were on gravel, unmaintained roads which would making winter in Wisconsin downright unbearable for plowing.
Not all realtors were very forthcoming with this information unless we asked. While not all realtors are out to catch people unawares, it’s important to do research for yourself when it comes to checking all the possible caveats.
- Consider seasonal access. Will you be stuck during heavy snow or rain?
- Check if utilities are available: electricity, water, septic, and internet.
Lifestyle Questions
Finally, we asked ourselves questions that felt small but mattered in the long run:
- Do we want to entertain or live mostly off-grid?
- How much do we want to drive to work, school, or activities?
- Are there zoning restrictions or easements that could impact future plans?
For us, imagining ourselves living on the land now and in 10 years helped refine our wish list. This step—really picturing daily life—made a huge difference when we later walked potential properties.
In our experience, zoning restrictions were not outright available. We had to dig in county websites to learn about the restrictions like no large, hooved-animals, or no smaller of a home than 1500 sq. ft. There are some wild restrictions out there.
The further rural you are, the less likely of restrictions, but always check!
💡 Key Takeaway: Before browsing listings or visiting properties, create a clear picture of your ideal land. This isn’t about perfection—it’s about knowing what will make you happy and functional in the long term. If you skip this, you risk falling in love with properties that look dreamy online but don’t meet your needs in reality.
Step 2: Determine Your Budget
Once you’ve got a clear picture of what you want, the next step is figuring out what you can realistically afford. For us, buying raw land for homesteading wasn’t just about finding the perfect property—it was also about making sure we didn’t overextend financially.
You might find a dream lot that checks all the boxes, but if it eats up your entire budget, you’ll regret it later when it comes time to develop or even just maintain the land.
How We Thought About Money
We started by looking at our income and expenses to figure out a comfortable monthly mortgage range.
A good rule of thumb we read (and followed loosely) is that your mortgage should ideally be no more than 25–30% of your net income. This gives you room for lifestyle—eating out occasionally, vacations, and any unexpected costs.
For us, that meant our property was right at the top of our comfort zone. We put 20% down, which is standard for most raw land purchases, though there are options like USDA farm loans that sometimes allow for less.
We also considered a VA loan since my husband is a veteran, but since we didn’t plan on building right away, a conventional mortgage made the most sense.
Prioritize Before Sacrificing
Early on, it’s tempting to let budget dictate your vision too much—but we realized that knowing what you truly want first makes it easier to prioritize.
We didn’t have to sacrifice much with the property we ended up choosing, but if we had a smaller budget, we might have needed to compromise on acreage, trees, or proximity to town.
Here’s how we balanced it:
- Determine your maximum comfortable budget first.
- List your must-haves (buildable land, trees, minimal wetlands).
- List your nice-to-haves (views, mature landscaping, access to lakes or trails).
- Adjust the nice-to-haves based on your budget.
Planning for the Future
Another thing we considered was how soon we wanted to build, and how big of a house we might want eventually. Even though we aren’t building immediately, we wanted a property that could accommodate a future home, garage, gardens and animal areas. Budgeting now means you won’t run into problems later when it’s time to develop.
- Think about potential kids, pets, or hobbies that require more space.
- Factor in the cost of infrastructure: wells, septic, electrical, and driveway access. (this is going to be more expensive than you think, really!)
- Keep a buffer for unexpected expenses.
Learning from Our Experience
We also realized that patience is key. The first lot we loved was slightly over our comfort zone. The same property had a dilapidated structure that would’ve required expensive removal, and we low-balled the offer knowing the property was not worth as much as listed. Needless to say, we didn’t get it, but it worked out in our favor!
When we finally found our lot, it was listed just two days before we saw it. It checked nearly every box, and we didn’t hesitate. While it was right at the top of our budget, staying within our financial limits gave us confidence to move forward without anxiety.
💡 Key Takeaway: Your budget and vision go hand-in-hand. Figure out what you can comfortably afford before obsessing over “the perfect property.” That way, you can make smart decisions when opportunity strikes without regret later.
Step 3: Search, Explore, and Evaluate
After we knew what we wanted and what we could afford, it was time for the real adventure—finding our land. Let me tell you, this is where buying raw land for homesteading becomes both exciting and exhausting.
Cast a Wide Net
We used every online platform we could find to search for listings. You name it, we were scouring it. The frustrating part?
Many of the same properties show up across multiple platforms, but some listings are exclusive to one site. If you’re serious about finding the perfect piece of land, you can’t just rely on one.
- Set up alerts so you know the moment a new property pops up.
- Keep a spreadsheet with property details, notes, and your gut impressions.
Even with all the research online, nothing beats seeing the land in person.
Weekend Road Trips
We turned property hunting into a weekend ritual. Every Saturday, we’d pack snacks and patience, then drive 4–5 hours to tour multiple properties. Some trips were thrilling—others, a total flop.
- Sometimes we could walk the property, sometimes we just scoped it from the road.
- Look at neighboring lots: Are they maintained? Are there any eyesores?
- Check your phone connection
- Be honest: could you really live there for your desired time frame? (For us, our land will be become our forever home, so we really had to be honest)
- Check the surrounding area: nearest gas stations, grocery stores, and how rural it actually feels.
Making it a day trip made it fun rather than stressful, and we got a feel for the lifestyle each property offered. We also would spend time around the nearest town, check out what there was to offer, and sight see the area.
Evaluating the Land
Here’s the tough part—properties can look perfect online but have hidden issues. On our journey, we learned to check every detail:
- Wetlands and flood zones (OnX was a huge help here).
- Easements or restrictions that could limit building or access.
- Road conditions and seasonal accessibility.
- Buildable areas: flat spots for future structures.
- Utilities: electricity, water, septic, and internet.
- Privacy and tree coverage.
One property we loved turned out to flood once every decade, and another had unmaintained roads that would’ve been a nightmare in winter. If we had ignored these signs, we would have regretted it.
Don’t Get Swept Up in Emotion
It’s easy to get attached to a lot and overlook flaws, but we learned to stay level-headed. Emotional highs can lead to impulse offers, and lows can make you miss a great property.
- If you aren’t feeling neutral, step back and reassess.
- Take notes on what you like and dislike to help with comparison later.
- Remember: there’s always another property coming on the market.
Step 4: Making an Offer
Once you finally find a piece of land that feels like the one, it’s time to take the plunge and make an offer. This part can feel intimidating, but it’s all about combining preparation with patience. Here’s how our process went when we were buying raw land for homesteading:
Crafting the Offer
We submitted an offer letter that included:
- Why we wanted the land—what about it spoke to us personally and fit our homesteading vision.
- The price we were willing to pay.
- How we intended to use the property, including potential building plans, trails, and future homestead projects.
This wasn’t just a formality—it was a way to connect with the seller on a human level. We honestly think it helped make our offer stand out, though not every seller responds to heartfelt letters.
You might not need to make an offer letter. With the land we eventually got, we just said we were willing to make an offer at the asking price and that was it!
Handling Rejections
We didn’t get every lot we made an offer on, obviously, and that’s completely normal. Some offers were rejected outright; others lost to higher bids. In a competitive market—even for raw land—rejections are part of the process.
- Don’t take it personally. One property might be perfect in theory but not right for your lifestyle, budget, or timeline.
- Some rejection letters ended up saving us from lots with hidden issues.
The Survey is Non-Negotiable
Before we could officially close, we insisted that the seller survey the full 30 acres. While it could’ve led the seller to turn down our offer, he actually accepted to pay the survey fees. This was huge:
- Without a proper survey, property lines could be wrong, and you might end up with less land than advertised.
- It also protects you from future disputes with neighbors and ensures your plans for building, gardens, or trails fit within the correct boundaries.
- Having it in writing that the seller would cover the survey gave us peace of mind before signing anything.
We learned that our neighbor was slightly encroaching on our property. Nothing crazy, and when we met him, he actually talked to us about it in full transparency. This is why surveying is important.
Timing and Confidence
Timing is everything. The lot we eventually purchased was listed just two days before we made our offer. We didn’t hesitate because it checked almost every box, and we knew hesitation could mean losing it.
- In competitive markets, acting quickly can make the difference but know if that if it’s accepted, you are responsible for paying. So, don’t just put in an offer out of fear.
- Make sure your offer is realistic—not overpaying for your budget, but fair for the land’s value.
- Trust your preparation and research; emotional highs can cloud judgment, so stay grounded.
💡 Key Takeaway: Making an offer is more than submitting a price—it’s about preparation, timing, and confidence. Have your finances in order, insist on proper surveys, and don’t let excitement push you into a decision that isn’t right. Sometimes a “no” is a blessing in disguise, and the right property will come along at the right time.
Step 5: Closing the Deal
After months of searching, visiting, and making offers, we finally got to the part where everything became real: closing on our land*. This is where buying raw land for homesteading goes from a dream to reality, but it’s also where the paperwork, details, and patience really matter.
*Choosing a Loan and Lender
You need to have a pre-approved loan with a lender before you can start putting in offers. Realtors will check to verify this. So, I would say this step actually comes in during your budgeting stage.
We went with a conventional mortgage for raw land through Greenstone Financial.
Since we weren’t building immediately, this option made the most sense for us. Greenstone walked us through every form and explained jargon we had no clue about.
- Tip: Do your research on lenders who specialize in raw land. They’re used to these deals and can guide you through the quirks of land loans versus home mortgages.
- Tip: Compare rates, fees, and requirements—sometimes small differences can save you thousands over time.
Ask Questions Constantly
One thing we learned quickly: never assume anything. If you don’t understand a line item, a term, or a form, speak up.
- “What does this mean?” became our daily mantra during closing.
- It’s okay to ask the realtor, bank, or title company multiple times—this is your land, and no one else is responsible for your understanding.
- If someone is dismissive or unhelpful, consider whether you really want to work with them—sometimes it’s worth switching professionals before you get too far in. I wouldn’t recommend this during the closing phase, so choose wisely early on.
Organize Everything
Closing comes with a flood of paperwork: deeds, mortgage documents, title insurance, survey reports, and tax forms.
- Keep physical copies in a binder, sorted by category.
- Store digital copies in a secure folder on your computer or cloud service.
- Double-check billing addresses for property taxes. Ours initially went to the previous owner, which caused a stressful scramble to fix.
Being organized now saves headaches later, especially if you start development projects or need to reference legal or financial documents.
Celebrating and Exploring
Once the down payment was made and all the paperwork signed, it finally felt real—we owned our land! We didn’t wait to start enjoying it:
- We camped there several times, exploring trails, imagining gardens, and just soaking in our little slice of wilderness.
- Early visits helped us start planning: where to put a future house, which areas would be good for a garden, and where sunlight hits during different times of day.
- These trips also helped us check practical things: road conditions, cell service spots, and general accessibility.
You might learn some new things after closing. In fact, we learned that our road is one that is heavily used during a particular rally. This means heavy traffic one weekend out of the year. We also learned that it’s used by ATVs, as well.
Thankfully, we have come to terms with this but goes to show there were things not even we could research that would prepare us.
💡 Key Takeaway: Closing is not just signing papers—it’s setting the foundation for your homestead journey. Take your time, stay organized, ask questions, and celebrate milestones. Even small moments like camping on your land can make the process feel real and exciting.

Lessons Learned
Looking back, our journey reinforced some big lessons about steps to purchase undeveloped land—things we wish we knew from the start:
Take Your Time
Finding the right property isn’t quick. For us, it took 8–10 months of weekend road trips, countless online searches, and lots of patience. We drove 4–5 hours nearly every weekend just to scope out potential lots.
- Don’t rush. The “perfect” piece might not pop up immediately, and settling for something less just to move faster almost always backfires.
- Make a checklist of your priorities—acreage, wetlands, tree coverage, access to utilities, proximity to town—and use it to stay focused during the search.
Know What You Want—and Your Budget
We knew we wanted lots of acres, minimal wetland, and a private, wooded setting. We also had a clear budget and stuck to it, knowing that overextending would limit our ability to develop the land later.
- Define your must-haves versus nice-to-haves. This makes it easier to say “no” to properties that don’t fit your vision.
- Factor in monthly payments realistically—don’t let your land mortgage consume all your income, leaving nothing for improvements or everyday life.
Keep Emotion in Check
It’s easy to fall in love with a property and overlook practical issues. We learned that emotion can be your enemy:
- Gravel roads that aren’t maintained? Easements that limit building? Lots that flood occasionally? These details can be deal-breakers.
- Stick to your research and checklist. If something doesn’t meet your needs, walk away—even if your heart says otherwise.
Choose the Right People
Your realtor, lender, and bank are all professionals, but you’re the one making the investment. Work with people who communicate clearly, answer questions patiently, and respect that you’re learning as you go.
- Ask for guidance when needed, but don’t let anyone pressure you into decisions.
- Vet your team by checking references or asking friends who’ve done similar purchases.
💡 Big Takeaway: Buying raw land for homesteading isn’t just about the property—it’s about patience, preparation, and having a team that supports you. The right mindset makes the whole process smoother and more enjoyable.
What’s Next in Project Homestead
Finding and purchasing the land was just the first chapter of our homesteading adventure. Now comes the fun (and sometimes overwhelming) part: turning raw acreage into a functional, enjoyable homestead.
Here’s what we’re planning to tackle next:
- Utilities and Infrastructure: Figuring out electricity, wells, septic, and internet access. These are the basics you need before any building begins.
- Building a Home: Whether it’s a tiny cabin, a full house, or a modular build, this is where planning your vision meets reality.
- Gardens and Food Production: Starting with small raised beds, experimenting with crops, and creating sustainable systems for food production.
- Animals and Livestock: Considering chickens, goats, or other animals that fit into our lifestyle. Planning space, shelter, and care routines.
- Exploring and Enjoying the Land: Trails, wildlife observation, and creating spots for camping, bonfires, or quiet reflection.
We’re documenting everything—not as experts, but as people figuring it out as we go. Every step, from planning to mistakes to small victories, is part of the journey.
If you’re considering buying raw land for homesteading, we hope sharing our experience gives you insight, confidence, and a little encouragement to start your own adventure. Sometimes it’s messy, sometimes slow, but the reward of creating your own homestead is absolutely worth it.
💡 Next Up: We’ll dive into developing raw land—utilities, building, and creating your homestead space. Stay tuned for the next chapter of Project Homestead!
Kirsten and Bryce
Join today and receive tips, tricks, and more!
For more on the blog: Click here or the link below!