Some of the links in this post are affiliate links, which means I might earn a small commission if you decide to buy something—at no extra cost to you. I’m definitely not a professional or expert—just sharing my experiences and items I actually use, like, and believe can help. Check out my disclosure page for more.
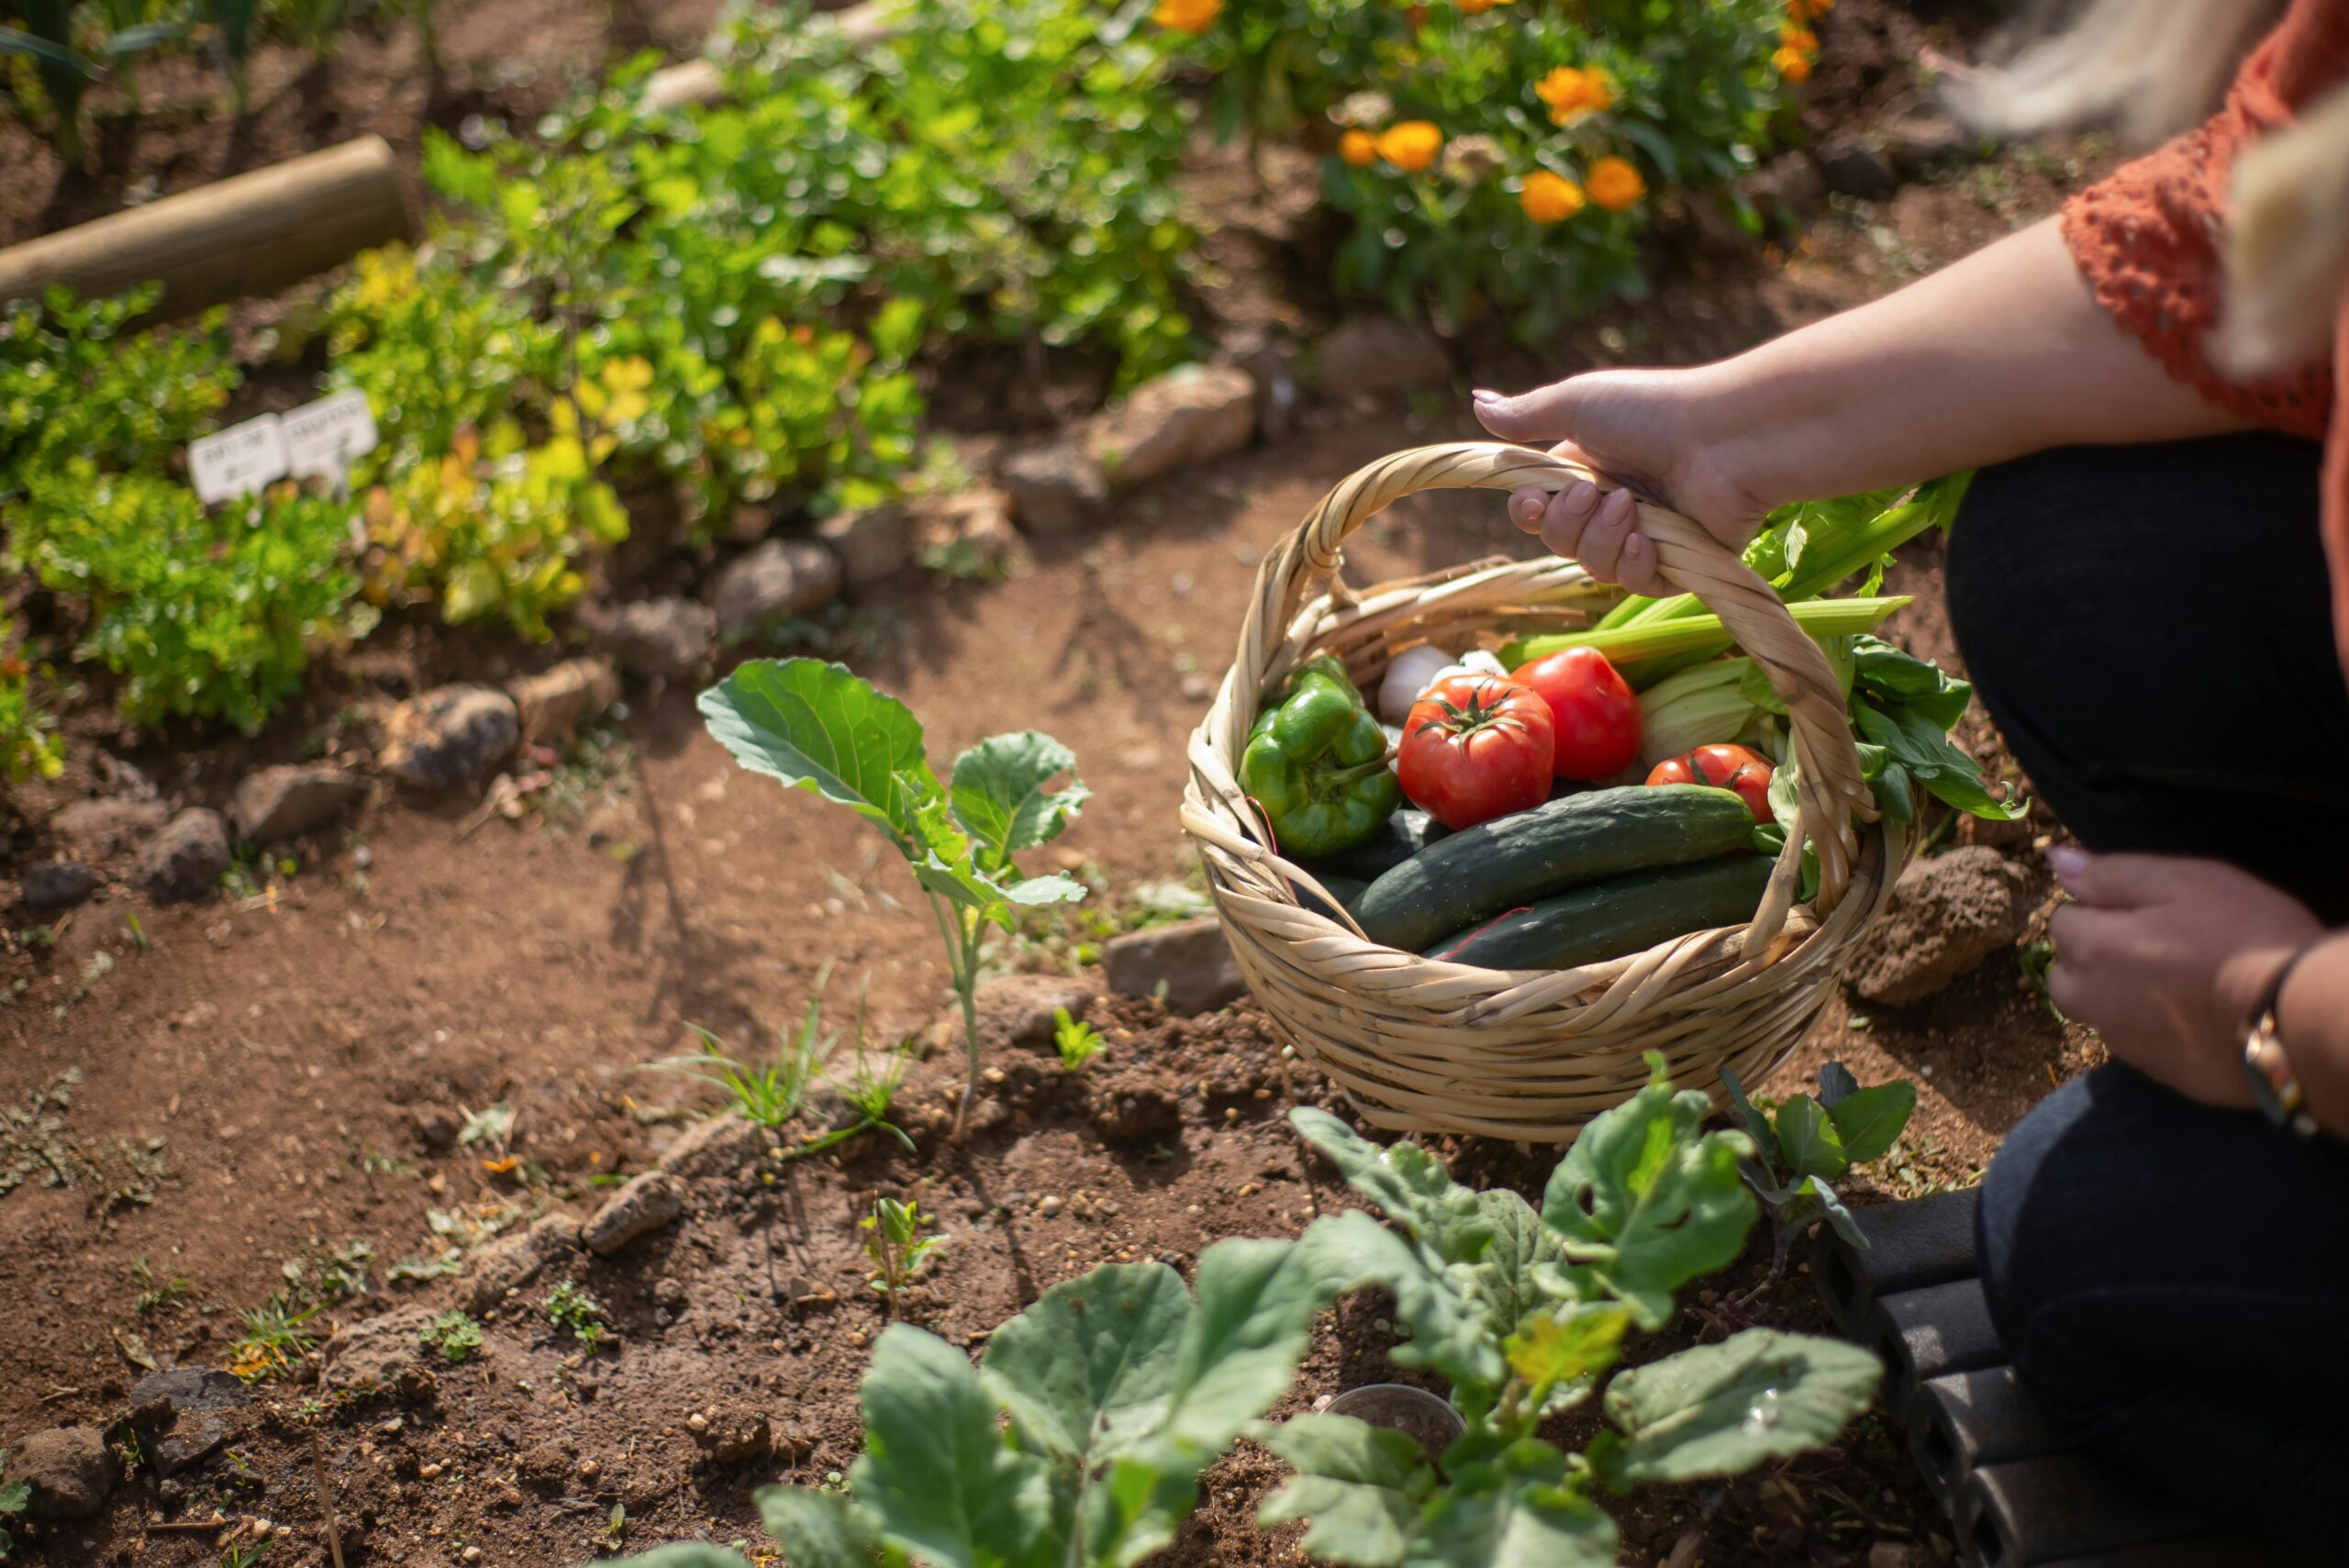
There’s something deeply satisfying about snipping a few fresh herbs or pulling a tomato off the vine and adding it straight to your plate. It’s not just about the flavor (though, yes, it’s better). It’s about connection—to your food, your health, and the small rituals that support a more intentional life. Learning how to grow vegetables in a small space is easier than you think—and the healthy benefits of growing your own food extend beyond fresh produce to better overall wellness.
If you’ve ever thought you needed a huge backyard or sprawling garden beds to grow your own food, I’m here to say: you don’t. You can absolutely learn how to grow vegetables in a small space—and reap the healthy benefits of growing your own food without needing acreage, expensive equipment, or even much experience.
Here’s how to start, even with limited space—and why it matters more than ever.
Buckle up, I have over 20 secrets to share with you!
Why the Healthy Benefits of Growing Your Own Food Matter
Growing food at home isn’t just a hobby—it’s part of a holistic approach to wellness. Store-bought produce often travels hundreds of miles, losing nutrients along the way. When you grow your own, even just a few small pots of veggies or herbs, you’re getting food that’s fresher, more nutrient-dense, and free of chemicals or preservatives.
The healthy benefits of growing your own food go beyond what’s on your plate. It supports gut health, reduces your exposure to toxins, and brings in calming, grounding practices that are good for mental wellness too.
How to Grow Vegetables in a Small Space: 5 Simple Ways
1. Start with Easy Container Veggies
If you’re new to gardening or working with limited space, container veggies are your best friend. They’re forgiving, productive, and surprisingly satisfying to grow. You don’t need raised beds or fancy irrigation—just a few well-placed pots, some sunlight, and the right approach.
By mastering how to grow vegetables in a small space, you can enjoy fresh, nutrient-rich food all year round.
Let’s go deeper than the usual “tomatoes and basil in a pot” advice.
Best Vegetables for Containers
Skip the space hogs (sorry, corn and squash) and go for high-yield, compact varieties that give you more bang for your square footage:
- Cherry tomatoes: Choose a determinate or patio variety like ‘Tiny Tim’ or ‘Balcony Red’—they stay small and don’t require staking six feet tall.
- Bush beans: Faster than pole beans and less demanding in terms of space. Bonus: they fix nitrogen in the soil, helping other plants grow better if you rotate them.
- Lettuce & spinach: Perfect for cut-and-come-again harvesting. You can get multiple salads from one planter if you don’t pull the whole plant.
- Mini bell peppers or jalapeños: These thrive in pots and look beautiful while growing—plus, peppers love warm roots, which pots provide.
- Radishes: Grow super fast (about 30 days to harvest), so they’re great for a confidence boost early in the season.
Secret #1: Go Deep, Not Wide
Most new gardeners use shallow, cute planters—but root depth matters more than surface area. A 5-gallon bucket (drilled for drainage) or a deep nursery pot will produce way healthier plants than a shallow trough planter.
Why it works: Deeper pots hold moisture more consistently, support better root development, and reduce the stress of heat and drought. For tomatoes and peppers, deeper = happier.
Secret #2: Use Epsom Salt and Crushed Eggshells
It’s not just grandma’s garden lore—magnesium and calcium really do improve veggie health, especially in containers where nutrients get depleted faster.
- Epsom salt: Add 1 tbsp per gallon of water every couple of weeks for tomatoes and peppers. It boosts magnesium, which helps with flowering and fruiting.
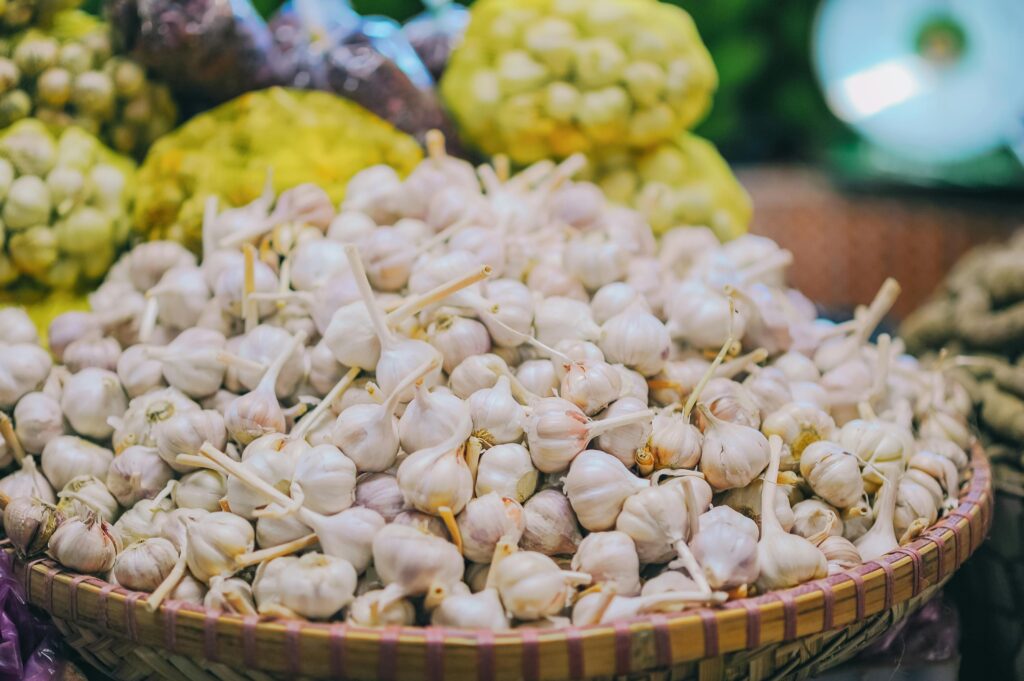
- Eggshells: Crushed and mixed into your soil or composted in-place, they slowly release calcium and help prevent blossom-end rot in tomatoes.
Secret #3: DIY Slow-Release Watering with Old Plastic Bottles
Cut the bottom off a plastic water bottle, poke 3–5 small holes in the cap, and bury it cap-down near your plant. Fill with water and let it slowly drip to the roots.
Why it works: This keeps water near the base where roots need it, especially during summer heat. It also prevents surface evaporation—a big issue in small containers.
Secret #4: Rotate Pots Every Few Days
Containers don’t get the consistent sunlight of a fixed garden bed. Slightly rotating your pots every few days ensures even growth, especially for sun-loving veggies like tomatoes, peppers, and eggplant.
Bonus: it helps strengthen the stem as the plant naturally reorients toward the sun.
Secret #5: Wash Your Leaves (Yes, Really)
In a small space, dust builds up fast—especially on balconies or patios. Dust-covered leaves can’t photosynthesize efficiently. Gently rinse them with a spray bottle of water every week or so.
Pro tip: Add a tiny drop of castile soap if pests have found their way to your garden. It’s gentle enough for the plant and annoying enough for the bugs.
🛒 An all-natural, all-cleaner that I love
2. Use Vertical Space
If you’ve got walls, railings, fences, or even an empty windowsill, congratulations—you’ve got untapped garden real estate. When you’re figuring out how to grow vegetables in a small space, going vertical isn’t just smart—it’s essential.
But this isn’t just about hanging a few pots and calling it a day. When done right, vertical gardening can multiply your harvest, improve airflow, reduce pests, and look downright gorgeous doing it.
Let’s talk real-life vertical solutions that work, plus a few pro-level tricks that most guides skip.
Best Plants for Going Up (Or Hanging Down)
Choose crops that are either natural climbers or shallow-rooted and compact enough for vertical stacking. Some all-stars:
- Cucumbers (vining varieties): Use a trellis, string, or even a mesh laundry hamper frame. Harvest is easier and the fruit stays cleaner.
- Pole beans & peas: These are literally made to climb. Bonus: they add nitrogen back into your soil.
- Strawberries: Perfect for wall planters, hanging baskets, or stackable towers.
- Leafy greens (kale, arugula, chard): These do great in stacked vertical planters with good drainage and partial sun.
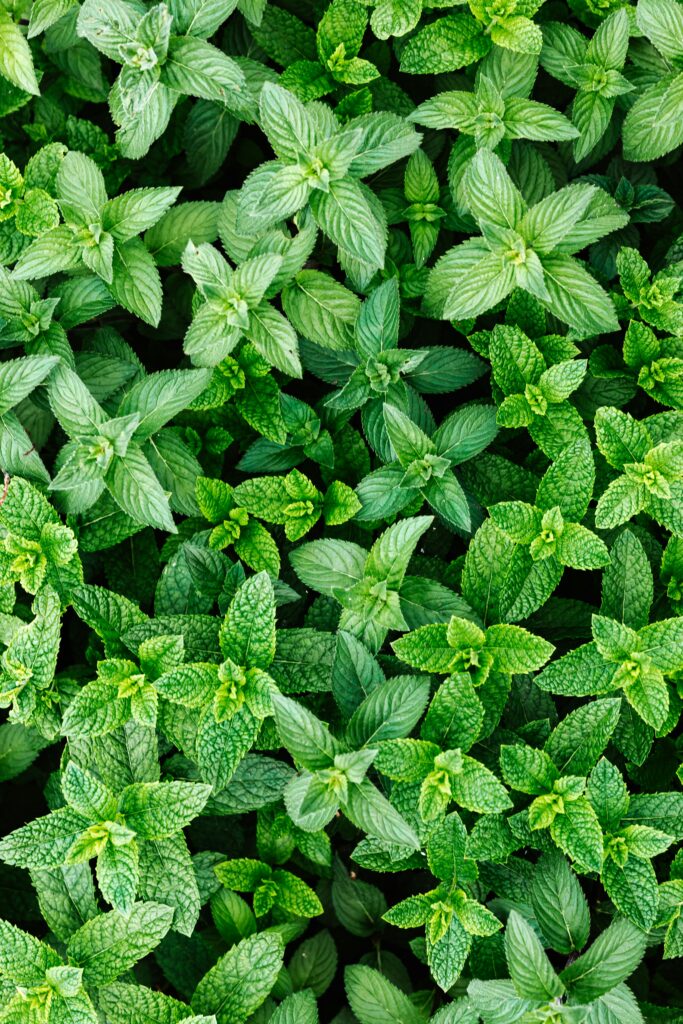
- Herbs: Mint, oregano, thyme, chives, and basil thrive in shallow pockets and hanging containers.

Join today and receive tips, tricks, and more!
Secret #1: Use Pocket Planters (But Line Them First)
Those felt vertical pocket planters you see all over Pinterest? They can work—but only if you prep them right.
What to do: Line each pocket with a small piece of landscape fabric or coconut coir liner. It helps retain moisture, keeps the soil from falling out, and prevents the fabric from leaching too quickly.
Bonus tip: Fill pockets with potting mix mixed with perlite or rice hulls for better drainage. You don’t want soggy roots in a vertical setup.
Secret #2: Repurpose Over-the-Door Organizers or Hanging Shoe Racks
Yes, seriously. These work beautifully for shallow-rooted greens or herbs. Mount them on a wall or fence, poke a few drainage holes in the bottom of each pouch, and fill with potting mix.
Perfect for renters, beginners, or anyone who doesn’t want to spend a fortune.
Extra points: Use a clear shoe organizer to monitor moisture levels more easily.
Secret #3: Hang Planters on Railings Using S-Hooks and Tension Rods
Most balconies or porches have railings just begging to be gardened on. Tension rods + sturdy S-hooks = instant vertical system for lightweight planters.
This setup is budget-friendly and also allows you to move or adjust based on how the light shifts during the season.
Secret #4: Follow the “Sunlight Stagger” Strategy
In vertical setups, the lower plants can suffer from shade created by the upper tiers. So stagger your planting like this:
- Top rows = sun-hungry plants like cherry tomatoes or hot peppers
- Middle rows = leafy greens or herbs
- Bottom rows = shade-tolerant herbs (like mint or lemon balm) or microgreens
This helps you use the light most efficiently—especially crucial in urban balconies or small patios with only a few hours of peak sun.
Secret #5: Elevation Reduces Pests (and Makes Harvest Easier)
One of the unexpected healthy benefits of growing your own food vertically? Fewer pests. Slugs, snails, and even some flying insects have a harder time reaching your crops when they’re elevated. Plus, vertical setups allow for better airflow, which helps prevent mold and fungal issues in damp climates.
And let’s be honest: not having to crouch down or dig around to harvest lettuce? A win for your knees and your salad bowl.
Don’t Just Grow Up—Grow Smart
Using vertical space isn’t just about saving square footage. It’s about creating a system that works with your lifestyle and environment, not against it.
Want it to feel beautiful, not just functional? Mix edible flowers like nasturtiums or calendula into your vertical beds for a touch of color (and bonus salad toppings or make some soap ).
Got harsh midday sun? Use shade cloths on the sides or angle your structure slightly.
Need to move your setup throughout the day? Try lightweight planters on hanging grids that can be unhooked and repositioned.
3. Grow Microgreens Indoors (The Easiest Superfood You’ll Ever Grow)
If you’re tight on space but still want to eat nutrient-rich, homegrown food, let me introduce you to the small-but-mighty heroes of indoor gardening: microgreens.
These tiny greens pack a nutritional punch that rivals (and often surpasses) their full-grown counterparts. They’re fast, affordable, and honestly kind of addicting once you realize how easy they are to grow. If you’ve been wondering how to grow vegetables in a small space—this is possibly the lowest-barrier entry point out there.
Let’s walk through the why, the how, and a few not-so-basic tips most gardening blogs skip over.
Why Microgreens? (Besides the Obvious Health Halo)
Microgreens are basically the baby versions of leafy greens and herbs—think arugula, broccoli, radish, pea shoots, or sunflower greens. Harvested just 7–14 days after germination, they’re tender, flavorful, and packed with concentrated nutrients.
Here’s why they’re worth growing:
- They contain up to 40x more nutrients than mature vegetables (according to USDA studies).
- You don’t need sunlight, soil, or a green thumb to succeed.
- You can grow them on a shelf, windowsill, or even your kitchen counter.
- They bring fresh, living food into your diet—something most of us don’t get enough of.
In short? They check all the boxes for a holistic, low-maintenance, food-as-medicine lifestyle.
What You’ll Need (It’s Less Than You Think)
Here’s your minimalist setup:
- Shallow container: A takeout tray, pie tin, or seedling tray all work.
- Growing medium: Organic potting mix, coconut coir, or even a damp paper towel.
- Seeds: Choose microgreen-specific seeds like broccoli, radish, kale, or sunflower.
- Spray bottle: For misting without overwatering.
- A sunny windowsill or grow light: Optional—but helpful.
No fertilizer. No digging. No drama.
Secret #1: Soak Seeds Overnight (But Only Certain Ones)
Soaking helps soften the seed coat and speeds up germination—especially for larger seeds like:
- Sunflower
- Pea shoots
- Cilantro
Soak these for 6–8 hours before planting. Smaller seeds like broccoli or radish don’t need soaking—they actually germinate better dry.
Secret #2: Microgreens Love Airflow
The one downside to indoor growing? Stagnant air = mold. To avoid it:
- Place a small fan near your trays (even a desktop fan works).
- Water lightly from below (set your tray inside another tray with water) or mist, don’t pour.
- Don’t crowd seeds too closely—they’ll fight for light and airflow.
Bonus: better airflow = stronger stems and better texture.
Secret #3: Stagger Your Trays for Weekly Harvests
Instead of planting one big tray and being overwhelmed with greens for a week (then nothing for the rest of the month), stagger your planting.
Plant a small tray every 3–4 days. You’ll have a rolling harvest and never waste a single sprout.
Secret #4: You Don’t Need Direct Sunlight
If you have it—great. If not, a $10 grow light on a timer will keep your greens thriving.
Light hack: Microgreens need 4–6 hours of indirect light to stay vibrant. If they start growing leggy or pale, increase light time or move them closer to the window. South-facing is best, but east or west can still work.
Secret #5: Don’t Just Eat Them Raw
Most people assume microgreens are only for topping smoothies or fancy toast. But you can:
- Fold them into omelets or scrambled eggs
- Stir them into soup right before serving
- Blend into pestos or dips
- Layer them into sandwiches, wraps, or spring rolls
- Toss them with lemon juice + olive oil for a 30-second salad
If you’re growing it, use it—and your body will thank you. The healthy benefits of growing your own food really shine when you’re eating something alive and nutrient-rich every single day.
4. Make the Most of Sunlight (Even If You Don’t Have Much)
One of the trickiest parts of growing food in small spaces—especially if you’re working with an apartment, condo, or shaded patio—is sunlight. Or rather, the lack of it.
Here’s the truth: most vegetables love sun. Six to eight hours of direct sunlight per day is the gold standard. But if you don’t have that? You’re not disqualified from gardening. You just need a smart plan, a little flexibility, and a solid understanding of how to maximize the light you do have.
Let’s break it down.
First: Observe, Don’t Assume
Before buying any seeds or hauling out pots, do a little sun audit. Over the course of a day, check how much direct sunlight each spot in your space actually gets.
Use your phone alarm and jot down:
- What time the sun hits the spot
- How long it stays
- Whether it’s direct, dappled, or filtered light
Even just 3–4 hours of good light can be enough for some greens and herbs. The key is planting the right thing in the right spot.
Grow According to Your Light—Not Just Your Cravings
This is where a lot of small-space gardeners go wrong. You want tomatoes, so you plant tomatoes… in a mostly shady corner. But they’ll struggle, stall, and frustrate you.
Instead, pick crops that match your light conditions. Here’s a cheat sheet:
Full sun (6–8+ hrs/day)
Best for:
- Tomatoes (cherry or determinate varieties)
- Peppers
- Eggplant
- Cucumbers
- Beans
Partial sun (4–6 hrs/day)
Best for:
- Kale
- Swiss chard
- Lettuce
- Radishes
- Herbs like oregano, thyme, and parsley
Light shade (2–4 hrs/day or bright indirect light)
Best for:
- Mint
- Chives
- Lemon balm
- Microgreens
- Arugula
Secret #1: Reflect Light with Simple Tools
If your small space doesn’t get enough direct light, use reflective surfaces to bounce what you do get toward your plants. A few easy hacks:
- Place plants near light-colored or white walls
- Set up a mirror or piece of aluminum foil to reflect sunlight onto shaded spots
- Use grow bag planters on wheels and move them to follow the sun throughout the day
Yes, it sounds low-tech—and it is. But it works. Light is energy, and redirecting it gives your plants the fuel they need to grow.
Secret #2: Supplement with Grow Lights (Without Going Overboard)
If your space just doesn’t get enough natural light, grow lights can be a game-changer.
But here’s the thing: you don’t need to invest in big expensive setups. A single LED grow light bulb in a gooseneck desk lamp can be enough to keep a few pots thriving.
Look for:
- Full spectrum LED (mimics natural sunlight)
- A timer to automate 12–16 hours of “daylight”
- Bulbs labeled 5000–6500K color temperature for vegetative growth
Perfect for winter months, dark corners, or indoor shelves that otherwise wouldn’t grow a thing.
Secret #3: Time Your Growing Season Strategically
Even with limited light, you can grow a lot by aligning your crops with the natural sun cycle:
- In early spring and late fall, stick to cool-season crops like arugula, radish, spinach, and lettuce.
- In peak summer, prioritize heat-loving sun-seekers like cherry tomatoes, basil, and peppers.
This rhythm doesn’t just yield better results—it also aligns with your body’s seasonal needs. Another way the healthy benefits of growing your own food go deeper than nutrition.
Secret #4: South-Facing Is Gold—But East/West Still Work
If you’re in the northern hemisphere, south-facing windows or patios are your best bet for reliable sunlight.
But:
- East-facing spots get gentle morning sun—great for leafy greens.
- West-facing areas get hotter afternoon sun—good for peppers or herbs that like a little heat.
- North-facing spaces usually need supplemental lighting or should stick to shade-tolerant crops like microgreens or mint.
Use what you have and work with your natural layout instead of fighting it.
5. Build a Routine That Feeds You (Not Just Your Plants)
Here’s the part that most gardening how-to guides skip completely: it’s not just about what you’re growing. It’s about how you show up to grow it.
In a small-space garden—whether that’s three planters on your balcony or a microgreens tray on your kitchen counter—the process matters just as much as the harvest. When growing your own food becomes a daily rhythm instead of a sporadic task, that’s when the real transformation happens.
Many don’t realize the healthy benefits of growing your own food include improved mental clarity and reduced exposure to pesticides.
Because what you’re really cultivating? Is consistency, care, and connection. And that feeds more than your meals.
Why Routine Matters (Especially in Small-Space Gardening)
When you’re learning how to grow vegetables in a small space, your environment is more sensitive to change. Things dry out faster. Plants outgrow their containers quicker. And a missed day or two of care can lead to drooping basil or bolting lettuce before you even notice.
A light, intentional routine makes it all feel manageable—and, dare I say, enjoyable.
It’s less about chores, and more about rituals.
👉 Related Post: How to Start Living Holistically
Start With a 5-Minute Morning Check-In
You don’t need a long, elaborate system. Just spend 5 minutes checking on your plants each morning, like this:
- Look: Are any leaves yellowing? Are plants leaning toward the light?
- Touch: Feel the soil—dry, damp, or soggy?
- Water: Lightly if needed. Containers dry out quickly, especially in the heat.
- Harvest: If anything’s ready, pick it early—it keeps the plant producing.
- Appreciate: Say good morning. Take a deep breath. Notice the progress.
You’ll be amazed how this tiny habit shifts your energy for the day.
Secret #1: Clean as You Go
A tidy garden, even a mini one, grows better. In small spaces, things like dead leaves, excess water, or overcrowding cause issues fast—mold, pests, you name it.
Every few days:
- Trim yellowing leaves
- Dump standing water from saucers
- Pull anything that’s past its prime
You don’t need perfection—just simple, regular maintenance. It keeps your plants healthy and your space feeling good.
Secret #2: Sync with Your Calendar (Not the Algorithm)
Instead of trying to memorize plant schedules, anchor your gardening into rhythms you already follow:
- Water while the coffee brews
- Check your microgreens when you prep breakfast
- Harvest and replant trays every Sunday afternoon
You don’t need to become “a gardener.” You just need to fold it into your life the same way you brush your teeth or prep a smoothie. That’s how it becomes sustainable.
👉 Related Post: Beyond the Symptoms: Address the Root Cause of Your Problems
Secret #3: Document the Growth (For You, Not Just Instagram)
Keep a simple garden journal (even in your Notes app). Jot down what you planted, what’s thriving, what flopped, and what you’re learning.
Tracking growth—even in small spaces—helps you feel connected, gives you data for next season, and builds a quiet kind of confidence. It reminds you that this isn’t a random hobby—it’s part of your healing and your health.
The healthy benefits of growing your own food don’t just come from the nutrients—it’s the process of being engaged, present, and empowered in your own nourishment.
Secret #4: Use the Garden as a Reset Button
When your nervous system is fried, when the to-do list is overwhelming, or when you just need a pause—go water something.
It sounds small, but this is where gardening in tiny spaces really shines: you can step into your “green zone” in seconds. You don’t need to drive to a trail or meditate for 30 minutes. You just turn toward your basil, breathe, water, clip, smell, reset.
You come back to yourself. Every time.
🎁 3 FREE Guides to Jumpstart Your Wellness Journey
Ready to feel your best — mind, body, and spirit?
Grab my free 3-in-1 Wellness Bundle, including:
7-Day Clean Eating Plan
7-Day Mental Wellness Plan
7-Day Beginner Workout Plan
✨ Plus a Secret Bonus!

Small Space, Big Impact
Learning how to grow vegetables in a small space is about more than making the most of your porch or kitchen window. It’s about reclaiming some control over what nourishes you. Even just a few pots can help you eat cleaner, reduce waste, and stay connected to your health in a really tangible way.
And those small harvests? They add up—nutritionally and emotionally.
You don’t need a garden to grow. You just need to start where you are, with what you have.
Whether you’re just starting or an experienced gardener, knowing how to grow vegetables in a small space will help you maximize your harvest and embrace the healthy benefits of growing your own food.
Ready to start your own mini garden?
I’d love to hear what you’re growing—or help you choose what to plant first. Drop your questions or share your small-space setup in the comments. Let’s grow something beautiful together.
Isaiah 58:11,
Kirsten
You might also like: Natural Ways to Boost Energy and Heal Your Body
2 responses to “The Ultimate Guide: How to Grow Vegetables in a Small Space”
Absolutely love this!
Thank you so much! I appreciate your support. 🙂